





How to Film Leather Accessories for UGC and Product Videos
A leather accessory can look good in a still photograph and become surprisingly difficult to film. The buckle catches the room in its reflection. The strap looks flat. A hand covers the mechanism at exactly the moment the viewer needs to see it.
To film leather accessories clearly, use soft directional light, keep the camera stable and give each shot one job: show the material, explain the function or reveal the fit. Build those shots into a short sequence that answers a real product question.
This workflow is for creators making UGC, product demonstrations or short ecommerce videos. It works with a phone or camera. We will use a belt as the main example, but the same planning approach can be adapted to wallets, watch straps and bags.
Start with the question your video will answer
Before choosing a background, write down the most useful thing the viewer should understand after watching.
For a belt, that could be how the buckle fastens, how the fit adjusts or what the belt looks like with jeans. For a wallet, it might be the way the compartments open. For a bag, it could be how the strap changes length.
Choose one main question for the short edit. You can film extra details for other versions without forcing every feature into the same video.
Check the brief for orientation, length, captions and required product views. If you are filming vertically, compose vertically from the start and leave room around important details for the final platform's interface. Check the actual preview before delivery rather than relying on one universal safe area.
A working example: showing a belt without holes
A belt mechanism is a useful subject because a simple action can communicate more than an adjective. The viewer can watch the strap enter the buckle, see it adjust and then see the belt being worn.
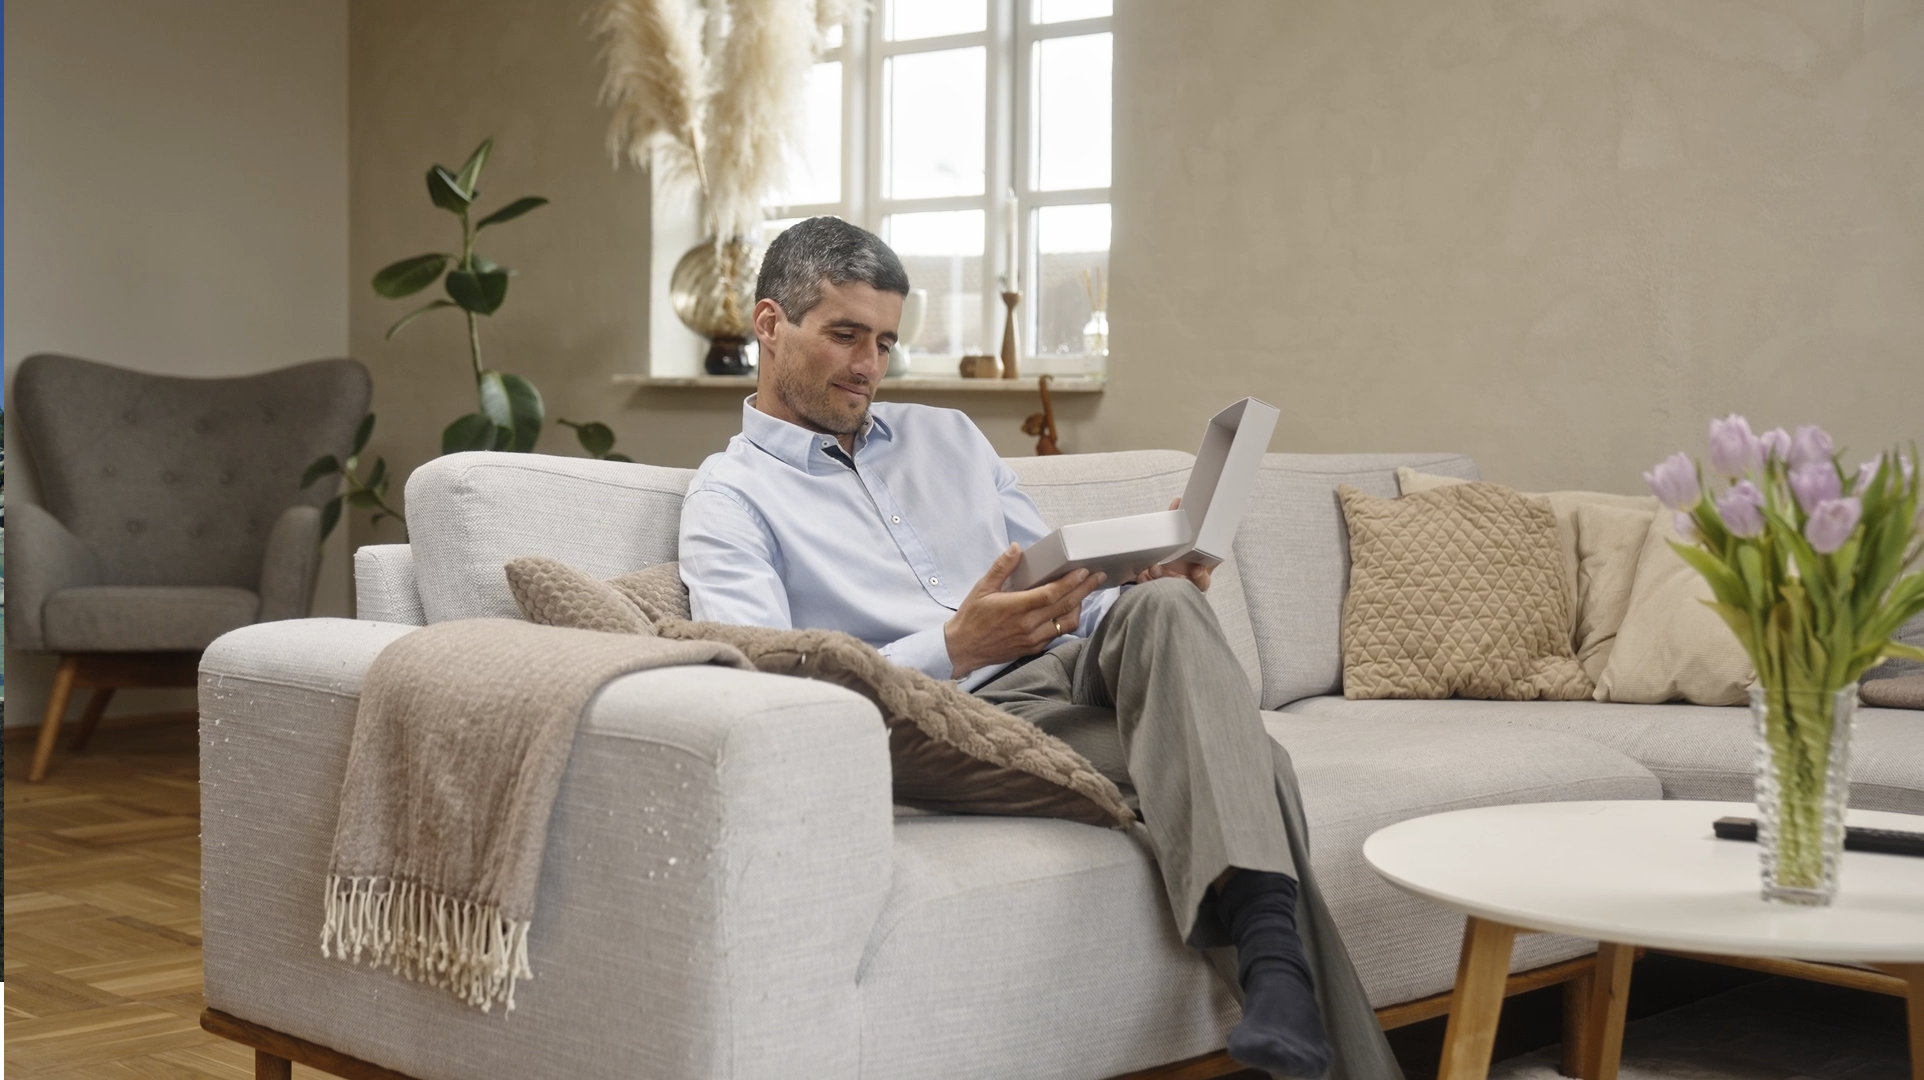
The men's belts without holes from remm. are one example of this product type. For a video about an adjustable belt, plan to show the fastening and release mechanism on the actual model you are filming. Follow its instructions and rehearse the movement before recording.
The demonstration should make the sequence understandable. A fast close-up of hands is not enough if the crucial action is hidden behind a thumb or cut out of the edit.
If your selected product also has an engraved detail, decide whether that belongs in this video or a separate one. A fit demonstration and a personalisation reveal answer different questions.
Set up a small, repeatable filming space
Start with a clean surface and a background that separates the product from its surroundings. Mid-grey, cream or a restrained colour can be easier to work with than a bright white surface when the strap is very dark.
You need space for the object, your hands and any movement you plan to show. A cramped setup tends to force awkward crops.
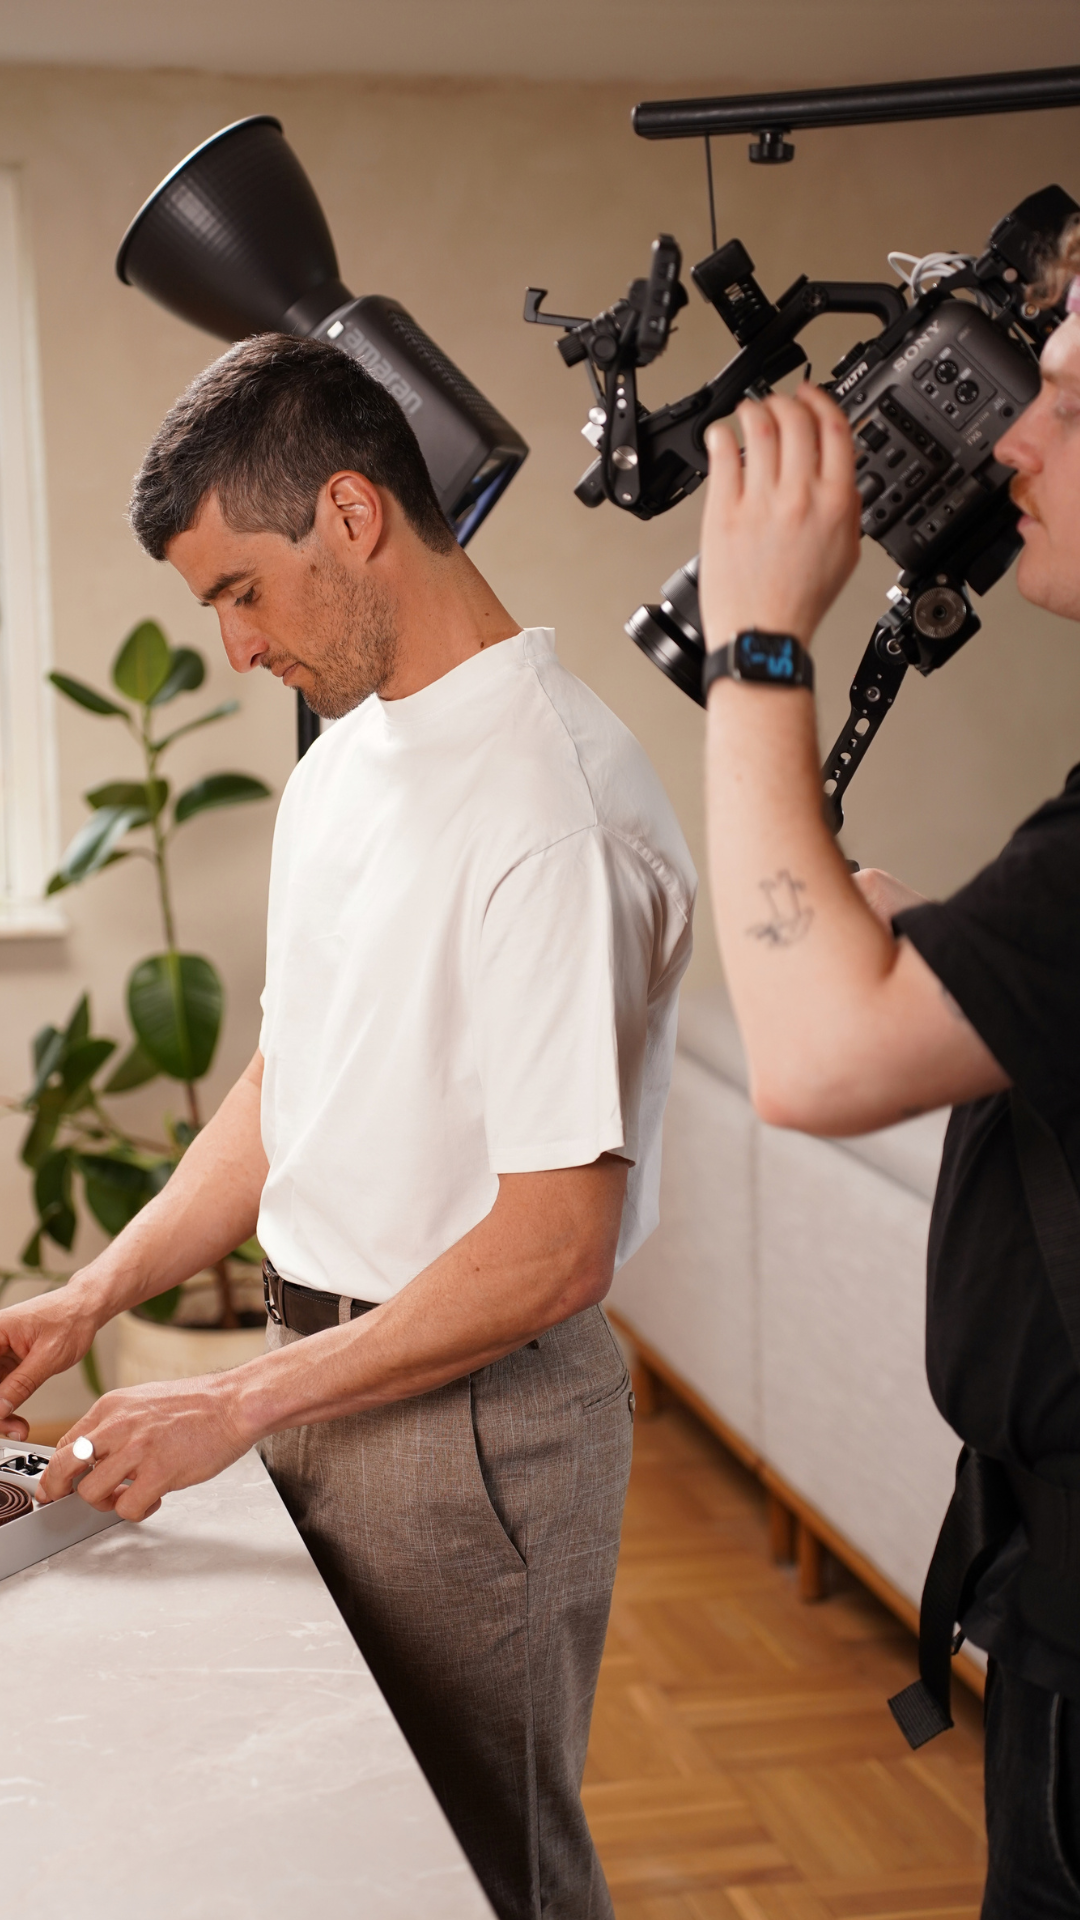
Keep the camera supported for demonstration shots. Mark its position, the product's starting point and the place where your hands enter the frame. These marks help you repeat an action and cut between different views.
Clean the lens and check the strap, stitching and buckle for dust. Remove fingerprints with a method suitable for the material. Follow the product's care instructions; do not add polish simply to create more shine for the camera.
Light the leather and the metal separately
Leather and polished metal respond differently to the same setup.
For the strap, begin with a large light source to one side. An indirect window or a diffused continuous light can work. Light coming across the surface can reveal texture, while a white card opposite the source can lift shadows.
Check the buckle separately. Its surface may reflect the window, your phone or objects behind you. Change the angle of the buckle or the camera in small steps and watch the result. A large pale surface can give the metal a cleaner reflection; a dark card placed out of frame can help define an edge.
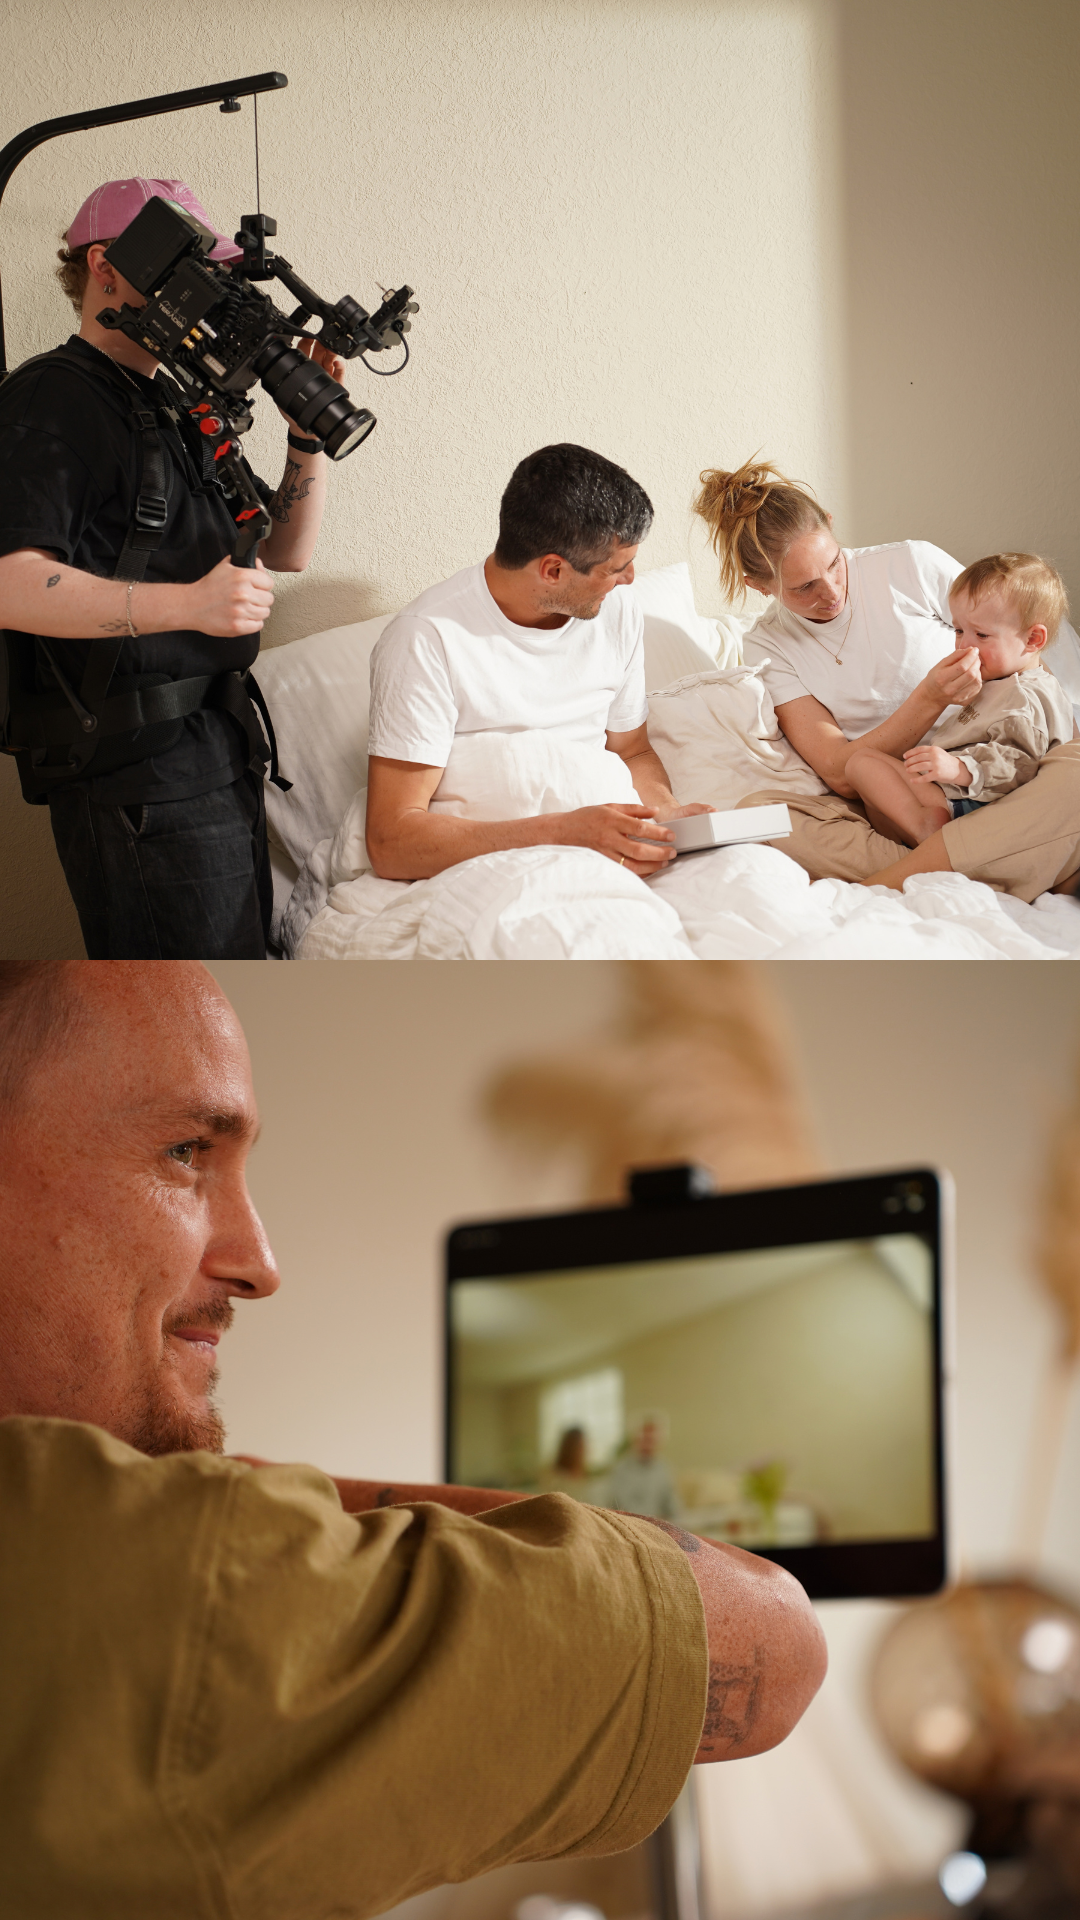
Record a short movement test. A buckle that looks controlled at the start of a shot may catch a distracting reflection halfway through the action. Adjust the movement, angle or surrounding surfaces until the whole take works.
Avoid mixing light sources with noticeably different colours unless that is deliberate. The colour of the leather should remain believable between the tabletop view and the outfit shot.
Make the camera's behaviour predictable
On a phone, begin with the normal video mode and a lens that lets you frame the product without pushing the camera too close. Clean detail matters more than an exaggerated close-up.
Where your device or app allows it, set or lock focus and exposure after composing the shot. Otherwise, a moving hand can cause the image to brighten or refocus at an awkward moment. Test the exact action and review the clip at full size.
On a camera, choose settings that keep the important parts of the demonstration in focus. A very shallow depth of field may suit a static detail but make the fastening action difficult to follow.
Check for flicker under artificial lighting, especially when changing recording settings or using slow motion. Test and adjust the setup before filming the full sequence. Record movement at its real speed first so you always have a clear demonstration to use.
Use this eight-shot plan
Give each shot a purpose. You may only need five or six in the final edit.
| Shot | What to film | What it tells the viewer |
|---|---|---|
| Finished look | The belt worn with a complete outfit | Scale and overall appearance |
| Product overview | The strap and buckle on a simple surface | What the product looks like |
| Material detail | A steady close-up with light across the strap | Surface texture and construction |
| Fastening | The strap entering the buckle | How the belt closes |
| Adjustment | One clear adjustment, shown without obstruction | How the fit changes |
| Release | The actual release action on this model | How the belt opens |
| Movement | A small turn or a seated position while clothed | How it sits during ordinary movement |
| Final detail | A clean view of the buckle or selected feature | The detail the edit should finish on |
Leave a short pause before and after each action. That gives you room to trim the edit without cutting into a hand movement.
Repeat important actions at least twice. For a difficult mechanism, capture a wider view as well as the close-up. The wider take often explains the hand position more clearly.
Build a clear 30-second demonstration
The following is an example structure, not a rule for how long a product video should be:
- Opening: show the finished look and introduce the question, such as “How does a belt without holes fasten?”
- Demonstration: show the strap entering the buckle, followed by an adjustment.
- Detail: cut to the strap texture or another relevant feature.
- Context: show the belt being worn in a wider shot.
- Finish: show the release or return to the finished look, depending on the question you started with.
Write captions around what the viewer can see. “Slide the strap through the buckle” is more useful than “Incredible innovation” when the purpose is to explain a mechanism.
If there is a voiceover, use it to clarify the action. Do not script a personal ownership story or a claim about months of use unless it is true for the person speaking. A straightforward demonstration can work without a testimonial.
Record useful product sounds separately if they matter to the edit. Keep added music low enough that speech and relevant sounds remain understandable.
Check the edit before delivering it
Watch once with the sound off. Can you still understand the key action? Then listen without looking at the screen. Does the narration explain what is happening without making unsupported claims?
Check the product itself throughout the edit:
- Is the colour consistent between the detail shots and the outfit view?
- Does a hand hide the fastening or release?
- Can the viewer distinguish the actual parts of the mechanism?
- Are captions covering the feature they describe?
- Does the final crop preserve the important detail?
Use the recording brief to choose the final export settings, then play the exported file rather than judging only the editing preview.
If your deliverables also include stills, Wedio's guide to product photography introduces product views and basic setup ideas. Plan those photographs alongside the video so the product's appearance stays consistent.
Questions about filming leather accessories
Can you make a leather product video with a phone?
Yes. A supported phone, controlled light and a clear demonstration can be enough for many briefs. Confirm the client's requirements first and review your test clip for focus, reflections and colour.
How do you reduce reflections on a buckle?
Change what the metal reflects. Adjust the buckle or camera angle and use large, controlled surfaces around the product. Check the reflection throughout the movement, not only in the opening frame.
Should every shot include camera movement?
No. Keep the camera still when the product or your hands are already moving. Add camera movement when it reveals something useful about the shape or surface.
